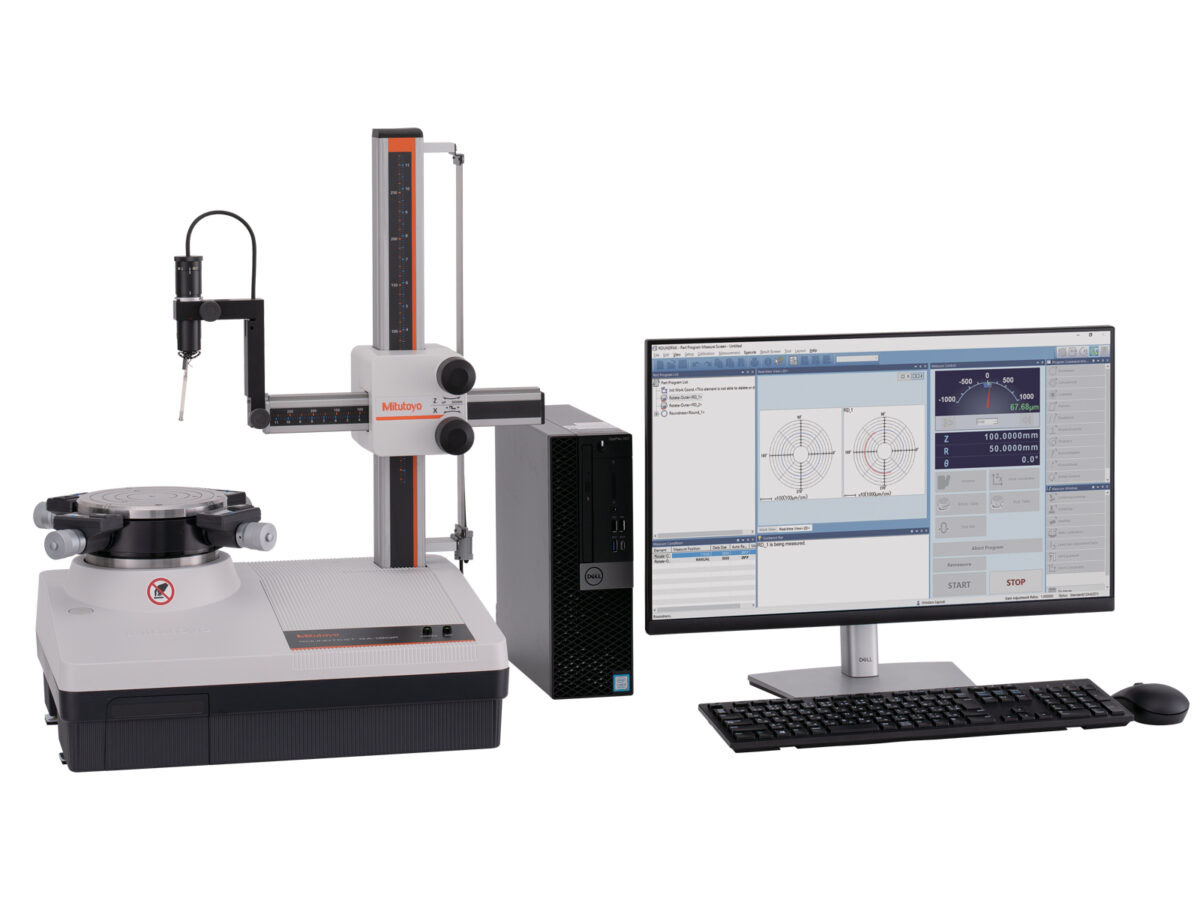
The Mitutoyo Roundtest RA-120/120P for compact roundness measurement is compact, affordable, and simple-to-use for measuring part geometry on the shop floor.

Features & Benefits
The Roundtest RA-120/120P roundness measuring instrument features a ±1000μm wide range detector and precision turntable to provide best-in-class rotational accuracy in compact roundness measuring instruments. A dedicated processor controls all measurements and operations via a control panel in the main unit.
- Digital Adjustment Table (DAT) function digitally displays the centering and leveling adjustments on the turntable to make workpiece placement much easier
- Large color backlit LCD screen shows easy-to-understand measurement results and graphs to easily check forms and set notch processing
- Notch processing excludes data by notches or scratches if desired
- Model RA-120 has a built-in high-grade thermal printer provides instant measurement analysis results, graphs and comments
- Model RA-120P is PC-based and features a Windows graphical interface for excellent usability and advanced functions
Technical Data
| Bearing Type: | Air |
|---|---|
| Rotating Speed: | 6rpm |
| Table Diameter: | 5.9" / 150mm |
| Table Centering Range (With DAT function): | ± .12" / ± 3mm |
| Table Leveling Range: | ±1° |
| Max Table Loading: | 55lbs / 25kg |
| Table Max Probing Diameter: | 11" / 280mm |
| Table Max Loading Diameter: | 17.3" / 440mm |
| Column Traverse Method: | Manual |
| Coarse Manual feed: | 1.18" / 30mm |
| Fine Manual feed: | .039" / 1mm |
| Column Traverse Range: | 11" / 280mm |
| Column Max Probing Depth: | 3.94" (min. ID: 1.18”) / 100mm (min. ID: 30mm) |
| Radial Traverse Method: | Manual |
| Radial Traverse Range: | 6.5" / 165mm |
| Detector Measuring Force: | 100 (± 30%) mN |
| Detector Stylus Tip: | Carbide ball diameter 0.06" / Carbide ball diameter 1.6mm |
| Detector Measuring Range: | ± .04μin / ±1000μm |
| Detector Measuring Direction: | Dual direction |
| Stylus Angle Adjustment: | ±45° |
| Data Sampling Points: | 3600/rev |
| Analysis Measuring Range: | ± .0004, ± .004, ± .04μin / ± 10, ± 100, ± 1000μm |
| Analysis Full Scale Range: | ± .0002, ± .0004, ± .0008, ± .002, ± .004, ± .008, ± .02, ± .04μin / ± 10, ± 100, ± 1000, ± 20, ± 200, ± 5, ± 50, ± 500μm |
| Filter Type: | 2CR50, 2CR75, 2CRPC50, 2CRPC75, Gaussian, Off |
| Reference Circle for Evaluation: | LSC, MCC, MIC, MZC |
| Data Analysis Items: | Circular runout (axial), Circular runout (radial), Coaxiality, Concentricity, Flatness, Parallelism, Roundness, Squareness (against axis), Squareness (against plane), Thickness deviation |
| Data output: | RS-232C, SPC, USB |
| Air pressure: | .39 Mpa |
| Base size: | 17.7x14.2" / 450x360mm |
| Main Unit Dimensions: | 17.7x14.2x25" / 450x360x636mm |
| Main Unit Mass: | 70.5lbs / 32kg |
Product List
| Order No.: | Product Image: | Table Adjustment Method: | Processing unit: | Recording device: | Recording magnification: | Cut-off value: | Display unit: |
|---|---|---|---|---|---|---|---|
| 211-543A | - | Digital mic heads | Built-in | Built-in thermal line printer | x5 to x200,000 | 15, 50, 150, 500, 15-150, 15-500, 50-500 upr | Color LCD |
| 211-544A | - | Analog mic heads | Built-in | Built-in thermal line printer | x5 to x200,000 | 15, 50, 150, 500, 15-150, 15-500, 50-500 upr | Color LCD |
| 211-546A | - | Digital mic heads | PC | Optional external printer | Auto (x1 to x500,000) | 15, 50, 150, 500, 15-150, 15-500, 50-500, manual setting upr | PC |
| 211-547A | - | Analog mic heads | PC | Optional external printer | Auto (x1 to x500,000) | 15, 50, 150, 500, 15-150, 15-500, 50-500, manual setting upr | PC |
